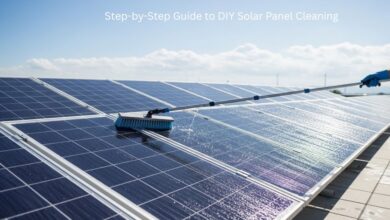
Solar panels are an excellent investment for sustainable energy, but like any equipment, their efficiency can decrease if not properly maintained. Dust, dirt, bird droppings, and other debris can accumulate on the surface, reducing energy output by up to 25% in extreme cases. While professional cleaning services exist, many homeowners prefer to maintain their panels themselves. This guide provides a step-by-step approach to safely and effectively clean solar panels at home.
Why Cleaning Solar Panels Is Important
Solar panels are designed to be low-maintenance, but environmental factors can affect their performance:
- Dust and Dirt: Wind-blown dust and sand can form a layer on panels, blocking sunlight.
- Bird Droppings: Droppings create concentrated spots that significantly reduce solar efficiency.
- Pollen and Leaves: Seasonal changes bring pollen, leaves, and other organic debris that stick to panels.
- Smog and Pollution: Urban areas with high pollution levels may leave a sticky residue on the panels.
Regular cleaning not only maximizes energy output but also prolongs the lifespan of your panels.
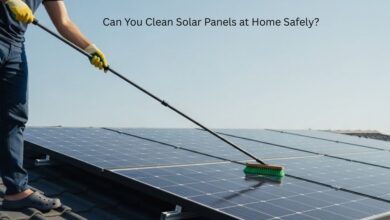
Safety First
Before starting, ensure your safety:
- Turn Off the Solar System: Switch off the inverter or disconnect the solar system to avoid any risk of electric shock.
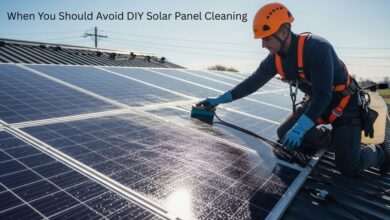
- Avoid Slopes: If your panels are on a steep roof, use safety harnesses or consider professional help.
- Check the Weather: Clean panels on a cool, cloudy day or early morning. Cleaning hot panels can cause thermal shock or streaks.
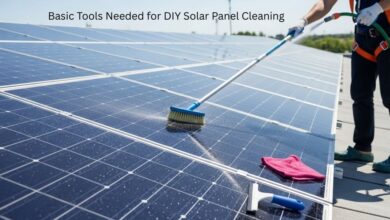
Materials You Will Need
For DIY solar panel cleaning, you will need:
- Soft-bristled brush or sponge
- Squeegee with a long handle
- Bucket of lukewarm water
- Mild, non-abrasive soap (avoid harsh chemicals)
- Hose with a gentle spray nozzle
- Safety gloves and goggles
Step-by-Step Cleaning Process
Step 1: Inspect the Panels
Check for cracks, loose wires, or other damages. Minor damages may be handled carefully, but severe issues require professional attention.
Step 2: Remove Loose Debris
Use a soft brush or your hands (with gloves) to remove leaves, twigs, or large dirt particles. This prevents scratching the panels during washing.
Step 3: Prepare Cleaning Solution
Mix lukewarm water with a few drops of mild soap in a bucket. Avoid abrasive cleaners or harsh chemicals that can damage the panel’s surface.
Step 4: Wet the Panels
Gently spray water on the panels to remove loose dirt. This also helps prevent scratches during scrubbing.
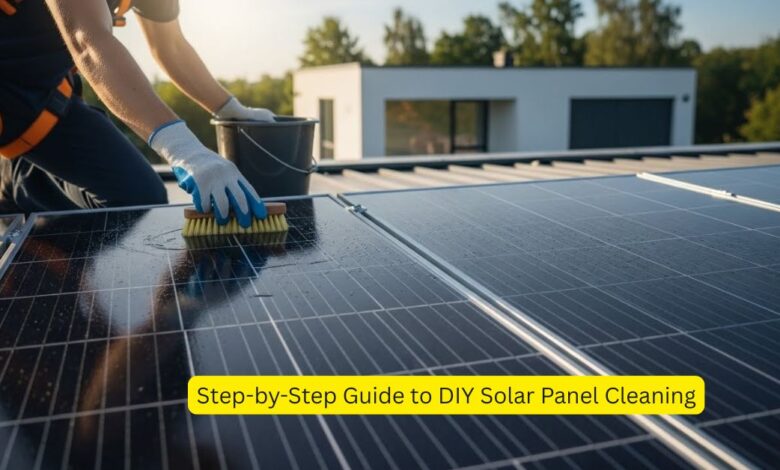
Step 5: Scrub Gently
Use a soft sponge or brush to gently scrub the surface. Focus on spots with stubborn dirt or bird droppings. Avoid excessive pressure.
Step 6: Rinse Thoroughly
Use a hose to rinse off the soap and debris. Make sure no soap residue is left as it can attract more dust or leave streaks.
Step 7: Dry Panels
Use a squeegee to remove excess water, preventing water spots. Air drying is acceptable but may leave streaks in hard water areas.
Step 8: Final Inspection
Check for any remaining dirt, scratches, or water spots. Ensure panels are clean and dry before turning the system back on.
Tips for Long-Term Maintenance
- Clean panels twice a year or more frequently in dusty or polluted areas.
- Trim nearby trees to reduce leaves and bird droppings.
- Consider installing a roof water diverter or anti-soiling coating to minimize dirt accumulation.
- Monitor system performance; a sudden drop in energy output may indicate it’s time to clean or inspect the panels.
Conclusion
DIY solar panel cleaning is a practical way to maintain efficiency and prolong the lifespan of your system. With the right tools, safety precautions, and cleaning techniques, homeowners can effectively keep their panels in top condition. However, if your panels are hard to reach, heavily soiled, or damaged, professional cleaning may be the safest option. Regular maintenance ensures that your investment continues to provide clean, sustainable energy for years to come.